

 Home /
 Pneumatic Valve Diagram Troubleshooting Common Problems and Solutions
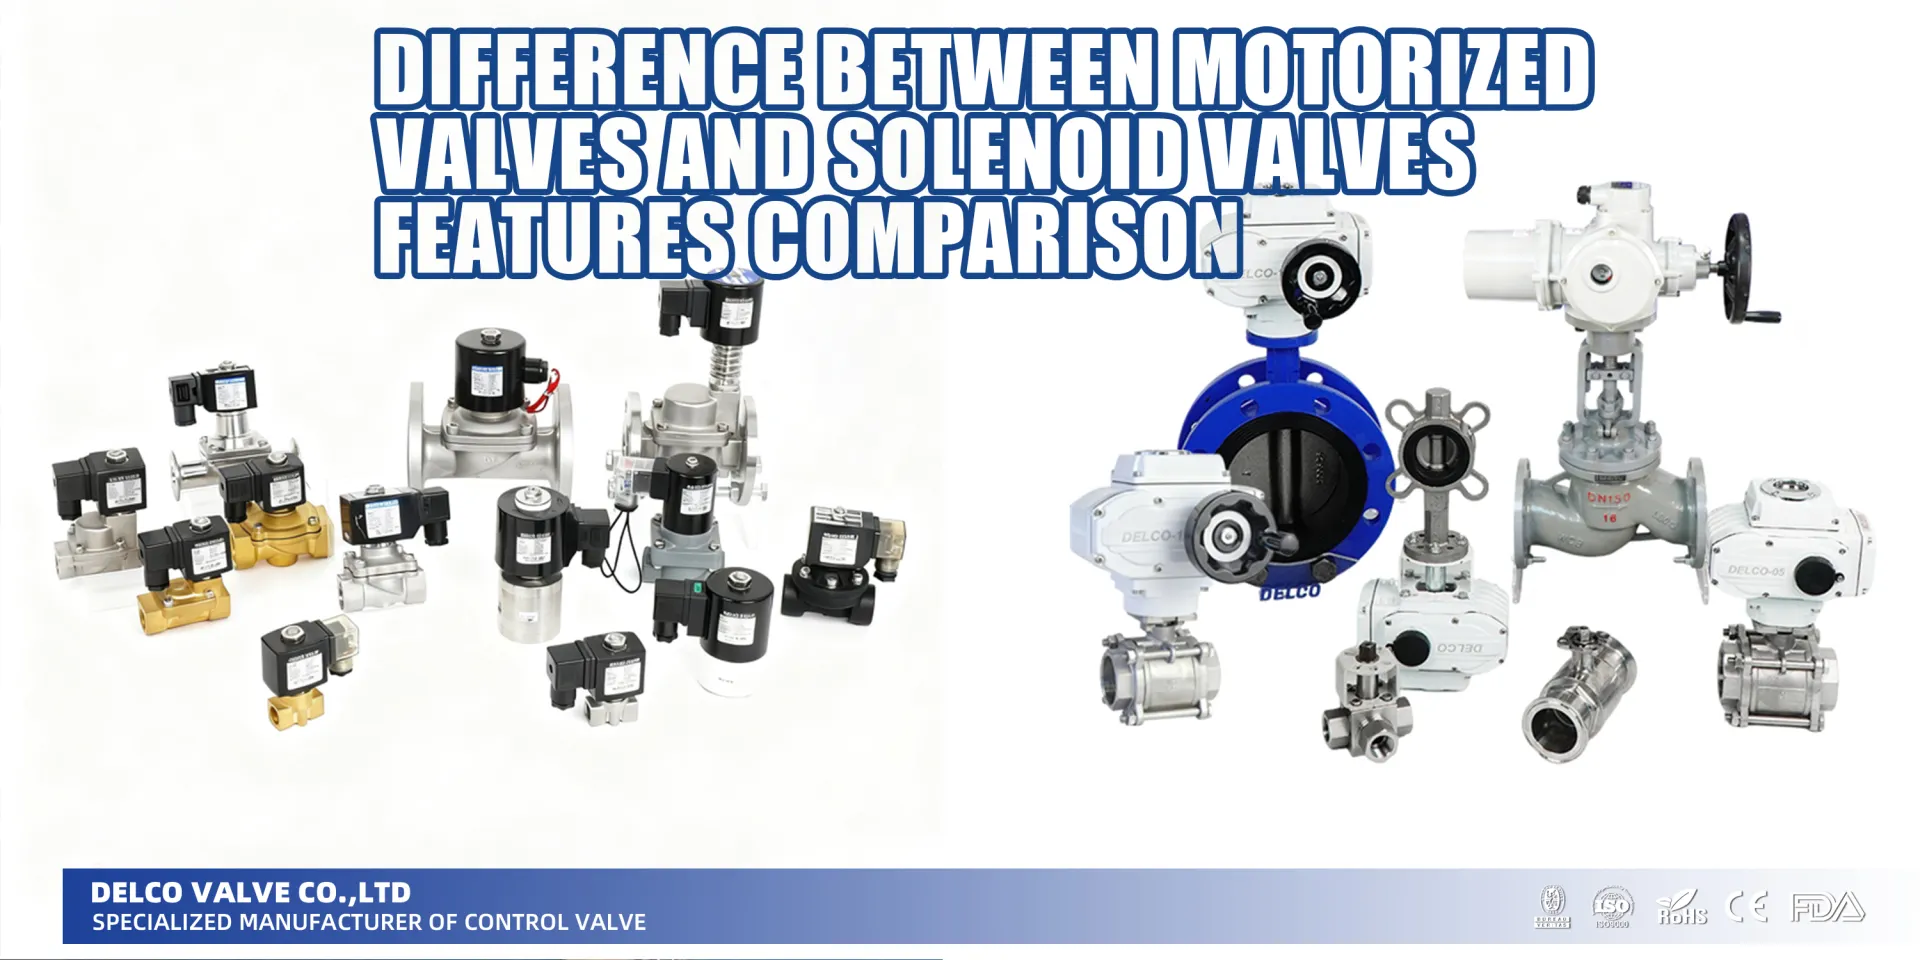
Difference Between Motorized Valves and Solenoid Valves Features Comparison
Nov 29, 2025
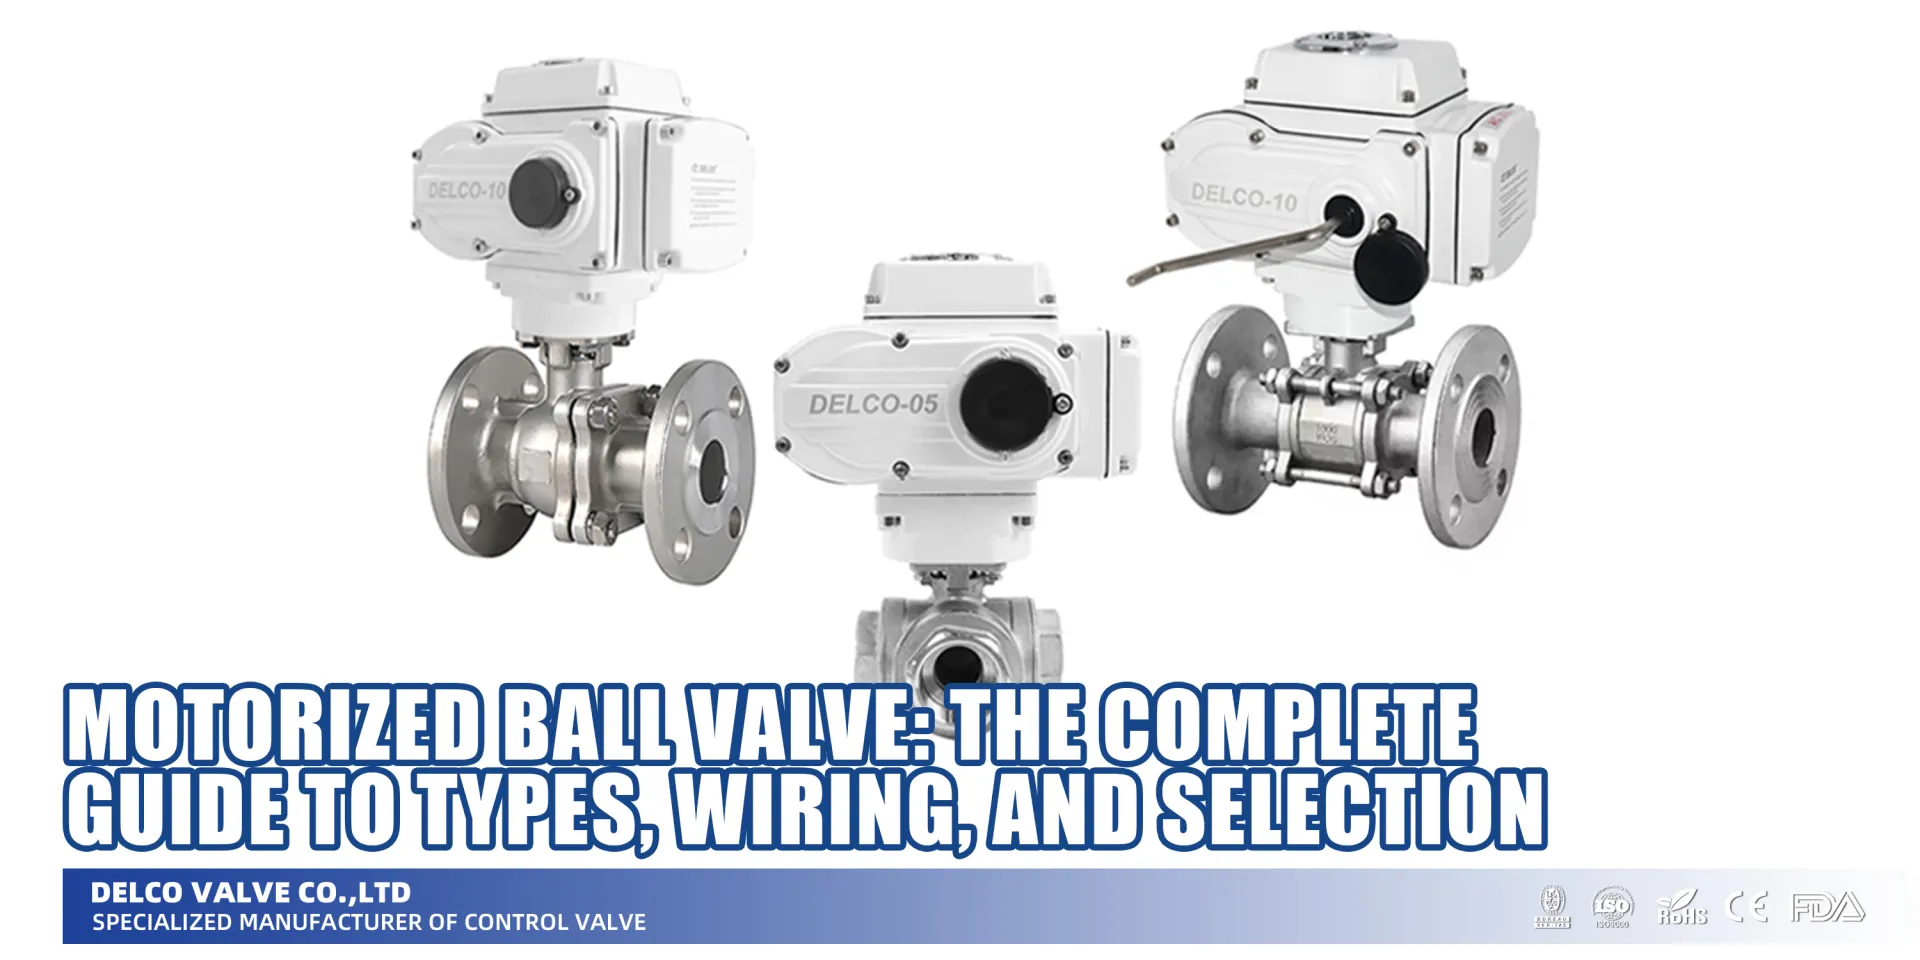
Motorized Ball Valve: The Complete Guide to Types, Wiring, and Selection
Dec 29, 2025

Pneumatic Actuator Valves: The Ultimate Guide to Selection and Use (2026)
Jan 14, 2026
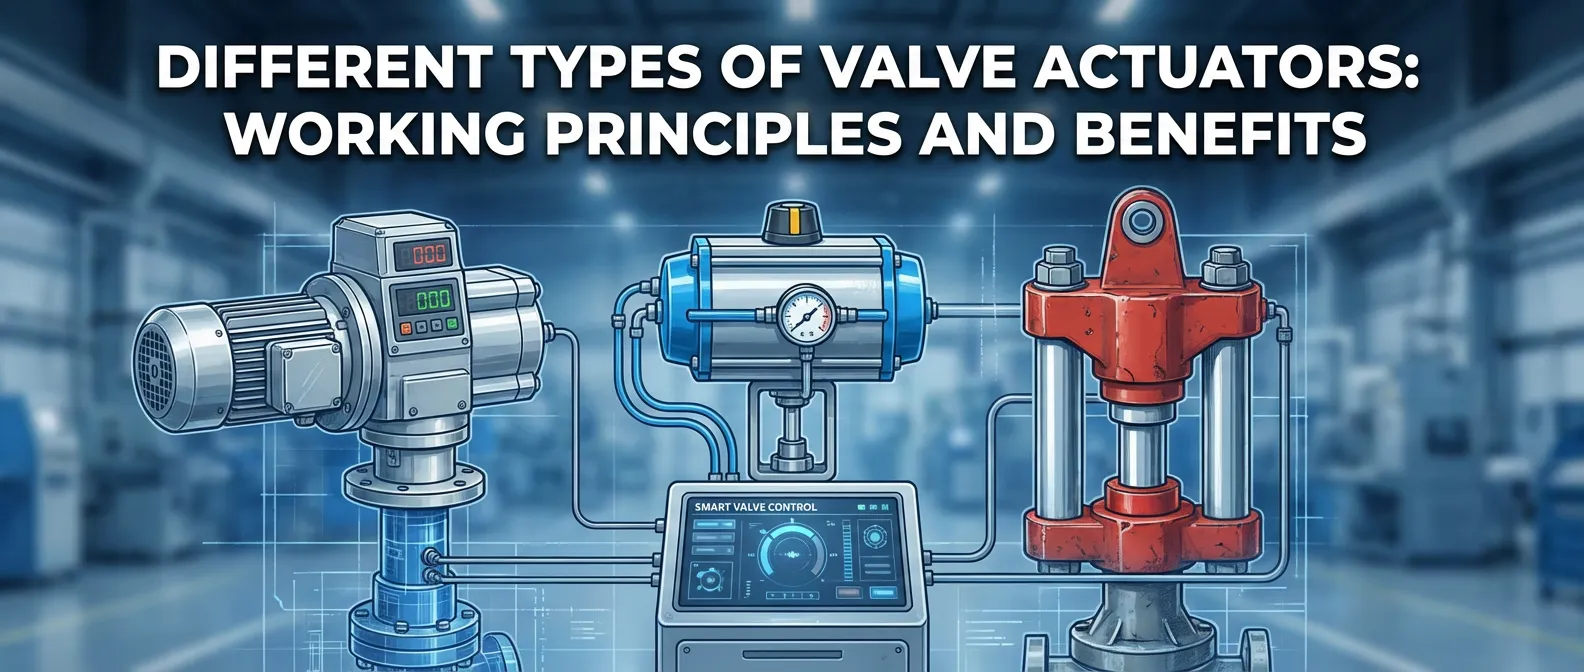
Different Types of Valve Actuators Working Principles and Benefits
Nov 29, 2025
Introduction: Why Pneumatic Valve Troubleshooting Starts with the Diagram
When a machine goes down and the pressure drops, guessing is not a strategy. Effective pneumatic troubleshooting begins and ends with the schematic. The diagram is the DNA of your pneumatic circuit, mapping out every air supply line, exhaust port, and logic gate. Attempting to fix a valve failure without consulting the ISO 1219-1 compliant schematic leads to wasted time, swapped parts, and extended industrial downtime. By mastering schematic literacy, you can pinpoint the exact component causing the failure before ever picking up a wrench.
Step 1: Identifying the “Home Position” on the Schematic
Common Mismatch: Physical Valve vs. Schematic Resting State
The most common mistake in troubleshooting is misunderstanding the valve’s starting state. Pneumatic diagrams always depict components in their unactuated, de-energized “home position.” If the machine stopped mid-cycle, the physical valve will look vastly different from its schematic representation. Always trace the circuit from its unpowered resting state to understand the baseline flow.
Recognizing Normally Closed (NC) vs. Normally Open (NO) Configuration
Identifying the initial flow path is critical for diagnosing a directional control valve.
- Normally Closed (NC): The supply air is blocked in the resting state. If an NC valve is passing air without a signal, the internal seal has failed.
- Normally Open (NO): The supply air flows freely to the working port in the resting state. If a NO valve lacks pressure at rest, look for a blocked air supply or failed spring return.
Symptom: Valve Fails to Shift (Actuation Problems)
Solenoid Valve Troubleshooting: Electrical Signal vs. Air Pilot
When a solenoid valve fails to shift, the diagram helps isolate the root cause. Does the symbol show a direct-acting solenoid (a slash through a box) or a pilot-operated solenoid (a triangle inside the actuator box)? Pilot-operated valves require a minimum internal air pressure to shift. If the electrical signal is present but the primary air supply is too low, the valve will remain stationary.
Mechanical Actuator Failure: Checking the Roller or Push Button Symbols
Mechanical actuators like limit switches (roller lever symbols) or manual overrides (push buttons) are prone to physical wear. If the schematic shows a roller actuator but the cylinder fails to extend, inspect the physical cam or lever for debris, bending, or misalignment preventing the mechanical shift.
Identifying Spring Return Failure in the Diagram
Look at the side of the valve symbol opposite the actuator. A zigzag line indicates a spring return. If a valve shifts upon actuation but fails to return to its home position when the signal drops, the mechanical spring is likely snapped, or internal friction (stiction) has overcome the spring’s force.
Symptom: Air Leaks and Pressure Drops
Exhaust Port Leaks: Understanding Internal Seal Failure via Symbols
A continuous air leak from an exhaust port rarely means the exhaust port itself is broken. It usually indicates an internal seal failure. When the spool seals wear down, high-pressure supply air bypasses the intended working port and bleeds directly out of the exhaust. Trace the active box in the schematic to see which ports are currently connected.
Supply Line Issues: Checking the FRL (Filter, Regulator, Lubricator)
System-wide pressure drops originate at the source. The FRL unit symbol (often simplified as a diamond with a dotted line and gauge) dictates the air quality and pressure entering your directional control valves. A clogged filter or a failing regulator will starve the entire circuit, preventing pilot signals from reaching the necessary thresholds.
Tracing the Flow Path: Identifying Blocked Working Lines
If the valve shifts but the actuator doesn’t move, trace the solid lines from the valve to the cylinder. Blockages in these working lines—often caused by kinked hoses, crushed hardlines, or clogged sintered bronze silencers—will trap air and halt movement completely.
Symptom: Erratic Cylinder Movement
Speed Control Issues: Meter-In vs. Meter-Out Diagram Logic
Flow control valves dictate cylinder speed. Understanding their placement on the diagram solves erratic, jumping movements.
- Meter-Out (Standard): Restricts the exhaust air leaving the cylinder, providing smooth, controlled motion.
- Meter-In (Rare): Restricts supply air entering the cylinder, often leading to jerky, inconsistent movements due to the compressibility of air.
The Role of Quick Exhaust Valves in Rapid Cycling
If a cylinder is retracting too slowly, look for a quick exhaust valve symbol (a shuttle-like circle near the cylinder port). These bypass the main directional control valve, dumping exhaust air directly to the atmosphere. If this valve jams, backpressure builds instantly, destroying cycle times.
Troubleshooting Backpressure in 5/3-Way Center Positions
Cylinder drift is heavily influenced by the center position of a 5/3-way valve.
- Closed Center: Blocks all ports. Trapped air can leak, causing slow drift.
- Exhaust Center: Dumps both sides of the cylinder to the atmosphere. The cylinder can be moved freely by external forces.
- Pressure Center: Applies supply pressure to both sides. Unequal piston areas will cause the cylinder to extend forcefully.
Common Diagram Errors to Watch Out For
Mislabeled Ports: ISO 1-2-3 vs. P-A-B Confusion
Schematics often mix lettering and numbering systems, leading to mispiping during maintenance. Use this definitive cross-reference guide:
| Function | ISO Numbering | Lettering System |
|---|---|---|
| Supply (Pressure) | 1 | P |
| Working Ports | 2, 4 | A, B |
| Exhaust Ports | 3, 5 | R, S (or E1, E2) |
| Pilot Signals | 12, 14 | X, Y |
Inverted Symbols: Directional Flow Arrows Pointing the Wrong Way
Pay strict attention to the arrows inside the shifting boxes of the valve symbol. If a technician replaced a valve but installed one with inverted internal flow paths (e.g., swapping port 2 and 4 outputs), the cylinder will operate completely backward.
Advanced Troubleshooting: Pilot Lines and Logic Gates
Shuttle Valve (OR Logic) and Twin Pressure Valve (AND Logic) Issues
Pneumatic logic relies on specific auxiliary valves.
- Shuttle Valve (OR): Allows a signal from either port A or port B to pass. If the internal sealing ball gets stuck, one signal will fail to pass.
- Twin Pressure Valve (AND): Requires a signal from both port A and port B. If only one signal arrives, the valve blocks flow.
Using the Schematic to Locate Auxiliary Check Valves
When a system stays pressurized even after the main air dump valve is shut off, locate the check valve symbols (a V-shape over a ball). These trap air for safety or pilot holding purposes but can create severe hazards for maintenance crews if not manually relieved.
FAQ: Troubleshooting Pneumatic Valve Diagrams
Why is air leaking from the exhaust port when the valve isn’t shifting?
This is a classic internal seal failure. The spool inside the directional control valve has worn O-rings. High-pressure supply air is bypassing the spool and dumping straight into the exhaust port, creating a constant hiss even in the home position.
How can I tell if a valve is pilot-operated just by looking at the symbol?
Look closely at the actuator mechanism on the side of the valve square. If you see a small, empty triangle pointing inward toward the valve box, it utilizes an internal or external pilot signal (air pressure) to physically shift the spool.
What does a dotted line on a pneumatic circuit indicate during a failure?
Solid lines represent main working air (supply, load, and exhaust). A dotted line represents a pilot signal line or a drain line. If a valve isn’t shifting, trace the dotted line back to its source; a leak or blockage in this pilot line will prevent actuation.
Using Schematic Literacy to Reduce Industrial Downtime
Troubleshooting pneumatics is not about guessing which part is broken; it is about proving which part has failed using the schematic. By cross-referencing physical symptoms like air leaks, cylinder drift, and missing pilot signals with your system’s diagram, you eliminate the guesswork. Treat the schematic as your ultimate diagnostic tool, strictly follow ISO numbering standards, and you will systematically eradicate pneumatic failures, ensuring maximum uptime and efficiency for your machinery.
Share on Social:
Contact Us
In This Article
Difference Between Motorized Valves and Solenoid Valves Features Comparison
Nov 29, 2025
Motorized Ball Valve: The Complete Guide to Types, Wiring, and Selection
Dec 29, 2025
Pneumatic Actuator Valves: The Ultimate Guide to Selection and Use (2026)
Jan 14, 2026
Different Types of Valve Actuators Working Principles and Benefits
Nov 29, 2025